Overview
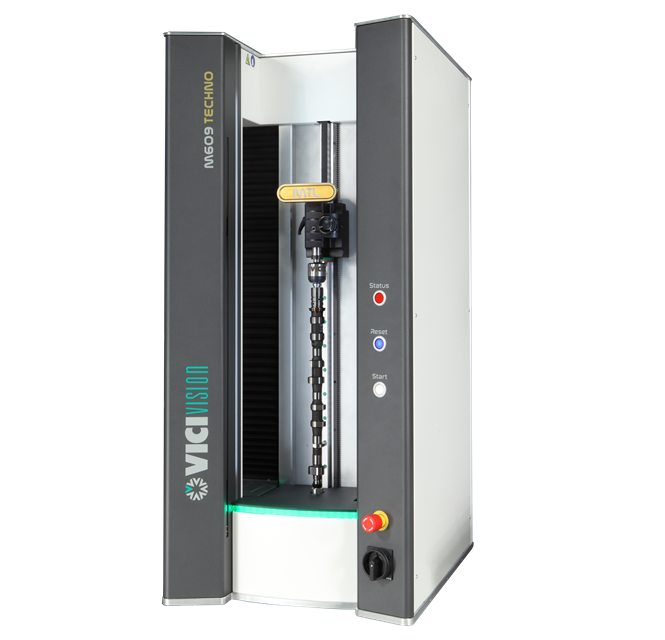
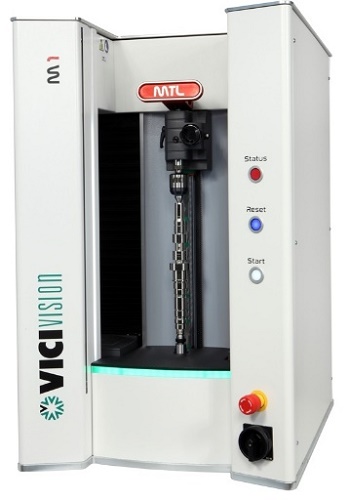 | M1 offers top of the range performance in a practical and compact optical measuring machine for turned parts. Its unique design gives direct access to the piece, ensuring practical loading for both small and large components. The enlightened LED loading area provides excellent visibility in every situation. The full metal housing provides protection from oil in the working environment and the new photoelectric cells make the measuring process safer. Vertical positioning of the piece facilitates loading, even with pieces up to 300 mm in length, by using either cone tailstocks, clamping chucks or negative cone cusps for blocking pieces without centers. The upper tailstock slides on prismatic guides with ball bearings guaranteeing maximum precision and sliding over time. The upper tailstock is equipped with a new and more practical load lever. It is activated by a rack and pinion which provide maximum accuracy as the piece to be clamped approaches. A counter-weight makes the entire system run smoothly. The machine is equipped with a double temperature compensation system (both on diameters and on lengths), making it ideal for |
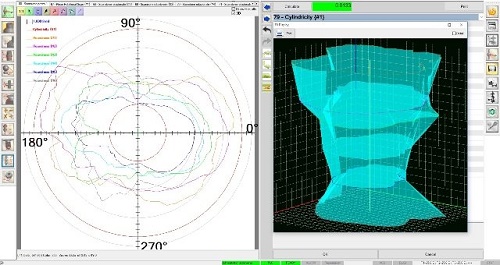
The brand new MTL 8.10 version is designed to improve the control phase and further extend the number of possible measurements. It includes specific tools for static and dynamic measurements, and dedicated tools for threads nuts, camshafts, turbines, etc. New automatic features help the operator to get measurements: self-programming, automatic loading of the part program, step by step assisted programming, DXF comparison.The software allows the operator to print or export complete and custom PDF measurement reports. Results of measurements on histograms for immediateconsultation. |
|
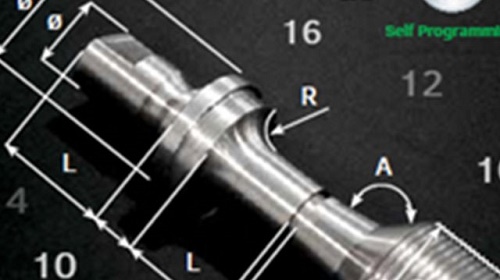
Diameters (static, dynamic, interrupted, etc.) Lengths (distance between points or other general geometric elements) Angles and Radius Cylindrical and conical threads and nut measurements Geometric measurements (parallelisms and orthogonalities) Shape measurements (circularities, coaxialities, run-outs, cylindricities) DXF comparison*, camshaft and turbine measurements* (*optionals) | 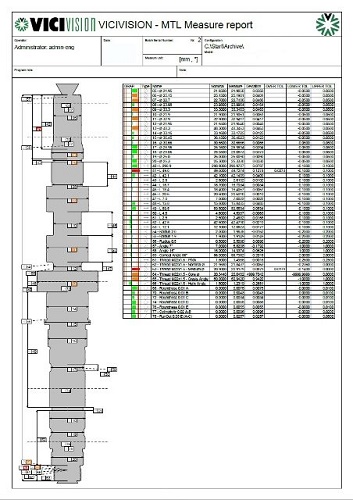 |
Advantages
Greater efficiency on smaller batches
The first pieces of every batch must be measured to set the machining center
Performing this operation with M1 beside your machine saves up to 30’/1 hour and increases efficiency even in smaller batches.
Save up to one hour for each batch change
Avoid downtimes caused by tool wearing
Reduction of rejects implementing the preventive actions indicated by measurement trend graphs
IMPROVE PRODUCTION:
- Operators are more independent during inspection.
- Measurement is not influenced by manual intervention.
- Allows to set tool offset before values are out of tolerance.
- Assess product quality without extra costs
Specification
Model | M1 |
Max. measurable piece | 300x60mm |
Max. piece to be loaded | 315x120mm |
Max. weight to be loaded | 10kg |
Measurement accuracy on diameter (averagediam.) | (2+D[mm]/100)µm* |
Measurement accuracy on length | (5+L[mm]/100)µm* |
Measurement repeatability on diameter (averagediam.) | 0,4µm* |
Measurement repeatability on length | 3µm* |
Verticalscanningspeed | 100mm/s |
Rotational scanning speed | 1080°/s** |
Machine’s weight | 160kg |
Power supply | 230V–50/60Hz |

