Overview
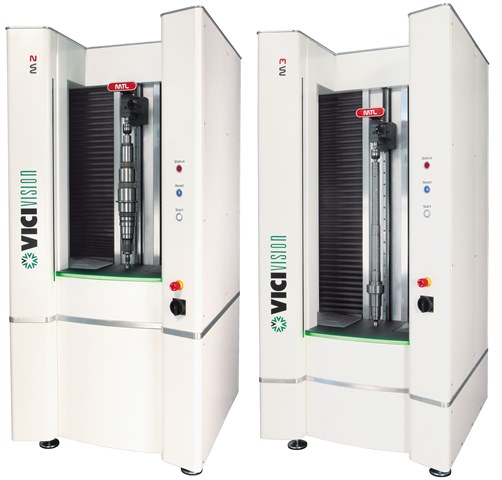 | CAMSHAFT, CRANKSHAFT Automatic Measuring Machine
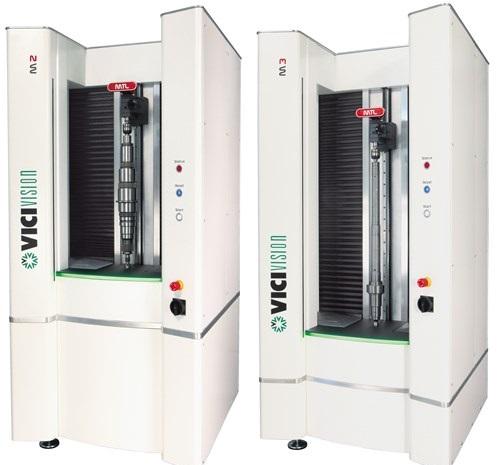
Measuring Big Shafts as Easily as Small OnesM2 and M3 were born to assist in production. Designed not only to measure large shafts, they can also capture minute details such as bevels and small radii. Accurately measure from small components to 140×900 mm shafts. An increased load capacity allows elements up to 250 mm in diameter to be positioned. Inspections complete in a matter of seconds, programs in just minutes, enabling increased operator independence during inspection. |
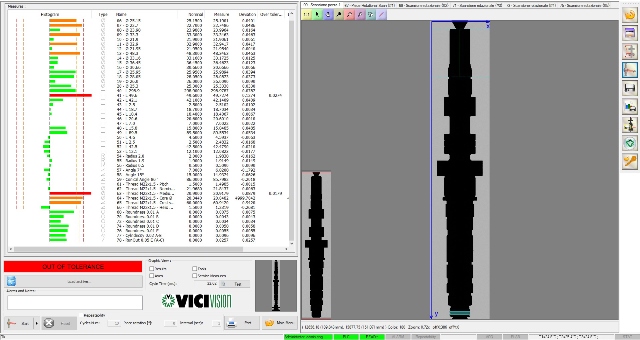
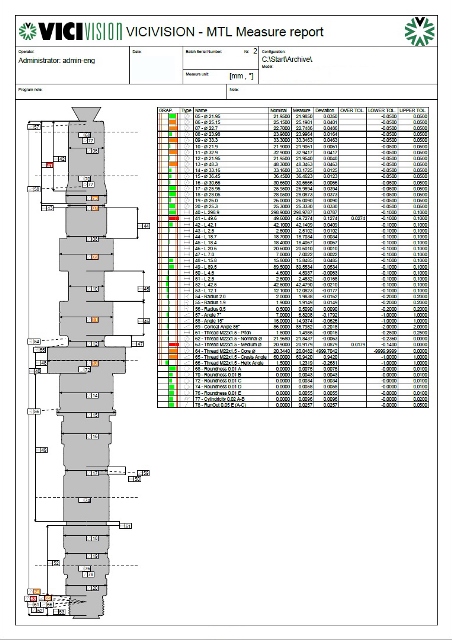
IMPROVES PRODUCTION Operators are more independent during inspection Assess product quality without extra costs | MEASUREMENT REPORTMeasurement is not influenced by manual intervention, allowing the user to set tool offset before values are out of tolerance. |
|  |
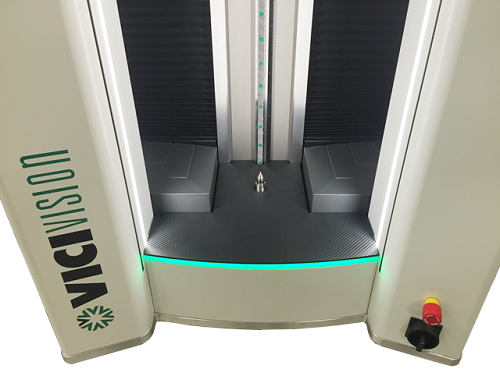
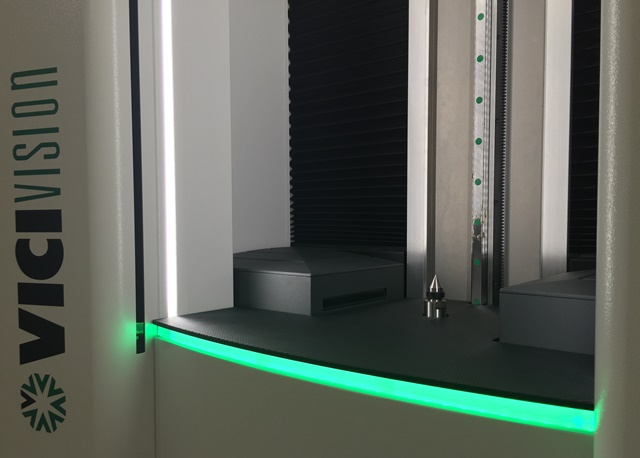
Working AreaThe live image of the piece displayed by the software, combined with the LED illuminated extensive working area, gives a clear vision of the conditions of the component being measured. | Compact Designed Designed to perform quick and reliable measurements. Every part produced by your CNC Lathe or Grinding center can be easily measured by operators, in just seconds, directly on the shop floor. |
 |  |
 |  |
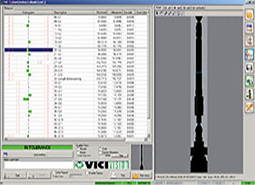 | 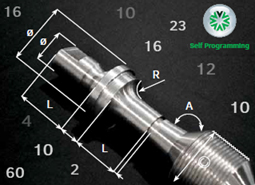 | 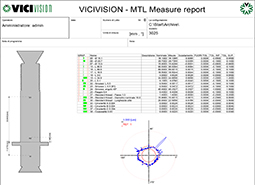 |
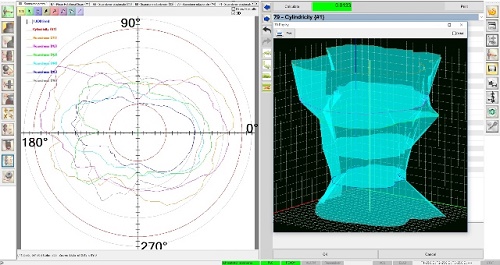
Software | Measurement Features | Result report |
TECHNICAL DATA
Model | M2 | M3 |
Max. measurable piece | 600x140mm | 900x140mm |
Max. piece to be loaded | 650x240mm | 950x240mm |
Max. weight to be loaded | 30kg | 30kg |
Measurement accuracy on diam | (2+D[mm]/100)µm* | (2+D[mm]/100)µm* |
Measurementaccuracyonlength | (5+L[mm]/100)µm* | (5+L[mm]/100)µm* |
Measurement repeatability on diam | 0,4µm* | 0,4µm* |
Measurement repeatability on length | 3µm* | 3µm* |
Vertical scanning speed | 100mm/s | 100mm/s |
Rotational scanning speed | 1080°/s** | 1080°/s** |
Machine’s weight | 395kg | 400kg |
Power supply | 230V–50/60Hz | 230V–50/60Hz |
Dimensions LxWxH | 920x1029x2000mm | 920x1029x2000mm |

