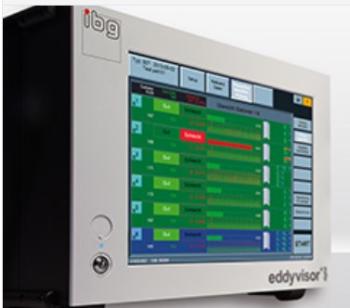
eddyguard® C - Eddy Current Testers Description
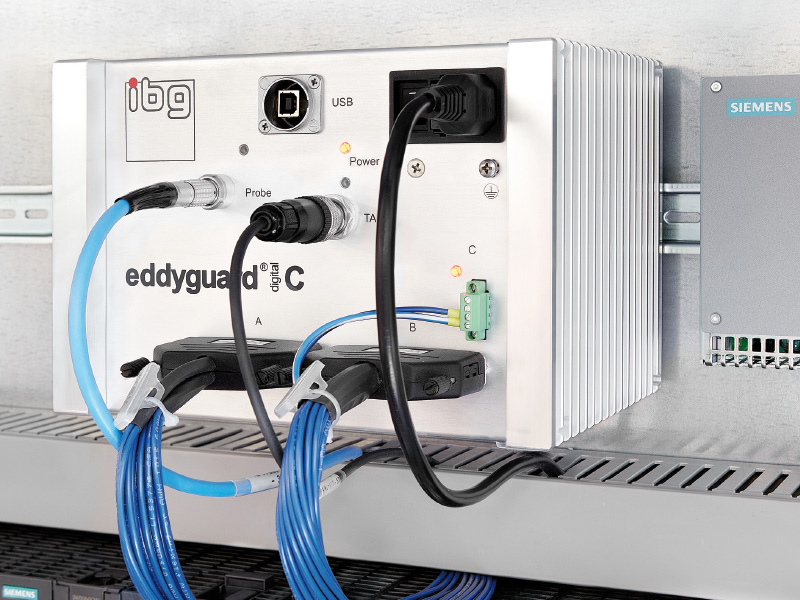
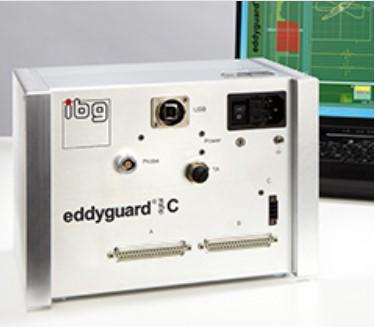
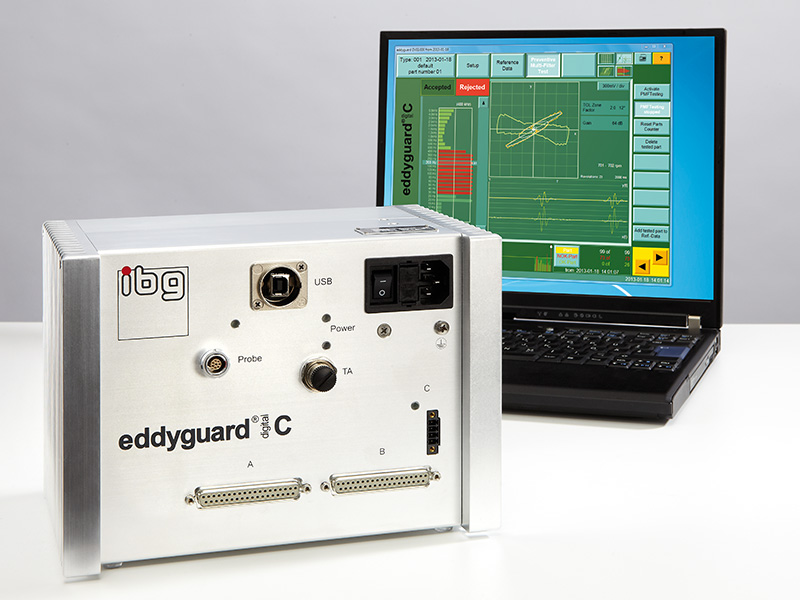
The eddyguard® digital C distinguishes itself with compact design and concentration on one channel crack and grinder burn detection with one probe and combines that with the well known ibg test reliability and ease of operation. Configuration is effected by means of a PC or a laptop supplied by customer via the USB-port. The ergonomic interface of the PC-software facilitates intuitive and simple operation. After configuration is finished the eddyguard® may be disconnected from the PC/laptop. The eddyguard® continues testing self-sufficiently.
Digital processing of the measuring signal with unique processors, immediately after the pre-amplifier guarantees the greatest possible stability of test results.
The eddyguard® is based on the ibg system concept proven for decades. All eddy current probes and rotating heads of the ibg system family can be used. The eddyguard® is therefore recommended not only for the solution of new tasks but also as an upgrade for existing production machines to be equipped with state-of-the-art eddy current technology.
Up to now, competitive eddy current test instruments required sophisticated and time-consuming manual determination and setting of suitable filter band, phase angle and gain. We replace that by the ibg exclusive development of Preventive Multi-Filter Technology (PMFT) and Simultaneous Harmonic Analysis with automatic tolerance zone creation. This quantum leap in the eddy current technology, unique to ibg worldwide, establishes a new standard for quality in crack and grinder burn detection.
During material data recording (calibration) with a PC/laptop with PMFT, surface areas of several good parts are scanned, and the good surface eddy current “noise” is recorded simultaneously in each of 30 band pass filters. Tolerance zones, enveloping 360 degrees, are automatically created within each filter band, capturing the allowable eddy current “noise” from good parts. The eddy current signals of good parts are the result of surface roughness and material properties. Thus, the thirty tolerance zones store the part specific fingerprint of the good parts. Additionally, edge effect, hardness profile run out, eccentricity, etc. of the good parts are calibrated during material data recording. Pseudo part rejects are, therefore, reduced considerably without losing visibility to real flaws. Real part flaws are now automatically detected no matter their frequency content or phase angle content. Even unexpected part flaws that can be detected by eddy current are reliably detected.
This unique “good-part-only-concept” enables setup within a few minutes. Simply record an adequate number of good parts with a connected PC/laptop. One keypress switches to Preventive Multi-Filter Test and testing can start. That‘s all!
- Probes
A variety of crack detection probes are available with different scan width, sensitivity and design. Custom eddy current probe models for special applications are designed and manufactured in house. Our compact and precision rotating heads eddyscan® H and eddyscan® F operated with our eddyliner, can be the solution for cycle time optimised crack tests. Monitoring of probe cable break guarantees maximum reliability for continuous operation. - Lift-off compensation
Eccentricity of a workpiece can be offset electronically thanks to the optional lift-off compensation. This function requires special lift-off compensation probes. - Suspend
The suspend function enables areas on components such as holes not to be tested. - Part types
Maximum 20 part types with all settings and reference data can be stored at the same time in the device memory and switched manually via the PC/laptop or via PLC for automated processes. - Displays (with connected PC/laptop only)
Test results are shown as bargraph, xy-diagram with tolerance zones, x(t) and y(t) or three-dimensional C-scan, selectable. The C-scan (or cascade diagram) provides a plannar display of a cylindrical surface to enable visualisation of defect position and length. - Probe distance
ibg probes are standard designed for a large distance between probe and test part of 0.7 mm. This considerably widens the scope for the requirements concerning parts preciseness and test mechanic. - Frequency range
The carrier frequency is selectable within a range of 3 kHz and 10 MHz in 21 steps. The filter frequencies of the 30 band pass filters are spread in the range 6 Hz – 5 kHz. - Data storage
Part types and device settings are stored on the PC/laptop and can additionally be stored on an USB stick. - Activating test
Start of test manually on the PC/laptop, via PLC or an optional start button. - Automation without PLC
Direct control of sorting devices, paint marking systems or indicating lamps is possible with merely an external voltage source 24V DC, providing a low cost solution for small automated systems without an additional PLC. - Operation / Configuration
by means of the delivered ibg operating software to be installed on a PC/laptop supplied by customer. System requirements: USB 2.0 and operating system MS Windows 7 (32 or 64 bit) or Windows XP (32 bit). - Help function
The software for the PC/laptop has a context sensitive help function which often renders a look into the manual unnecessary. - Languages
The software for the PC/laptop may be set to German, English, Spanish, French, Italian, Czech, Polish, Portuguese, Chinese, Hungarian, Japanese, Korean and Russian. Other languages as option.
Technical data:
- Connections:
+ IO-ports: optically insulated interface for PLC connection with 32 inputs and 32 outputs
+ USB 2.0: for connection of a PC/laptop supplied by customer
- Housing: completely sealed and thus can be used in a dusty production environment for installation on top hat rail TH35 as per DIN EN 60715
