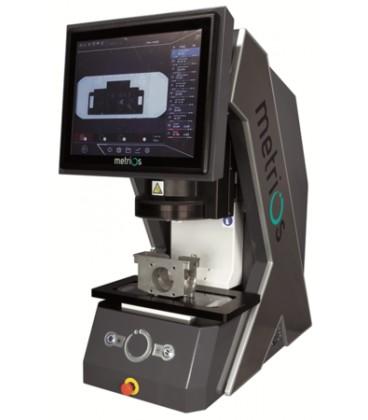
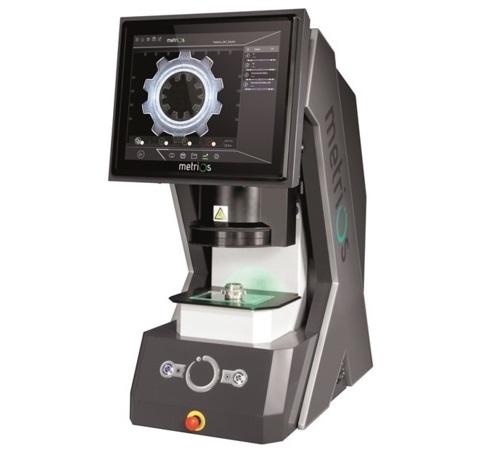
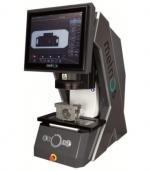
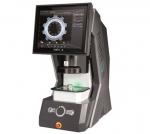
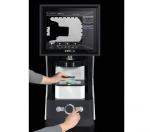
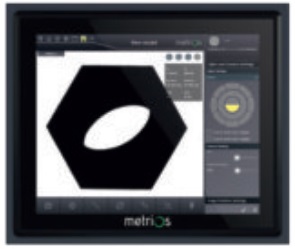
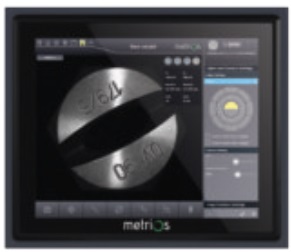
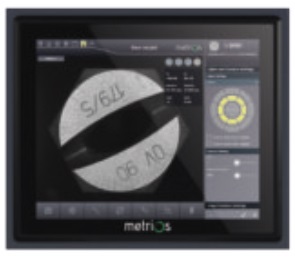
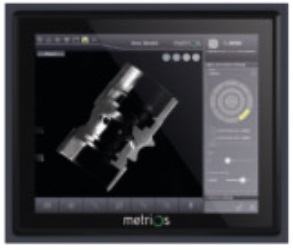
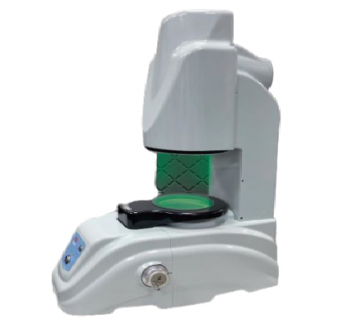
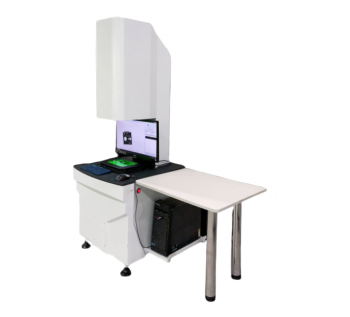
PLACE => PRESS => ACQUIRIE
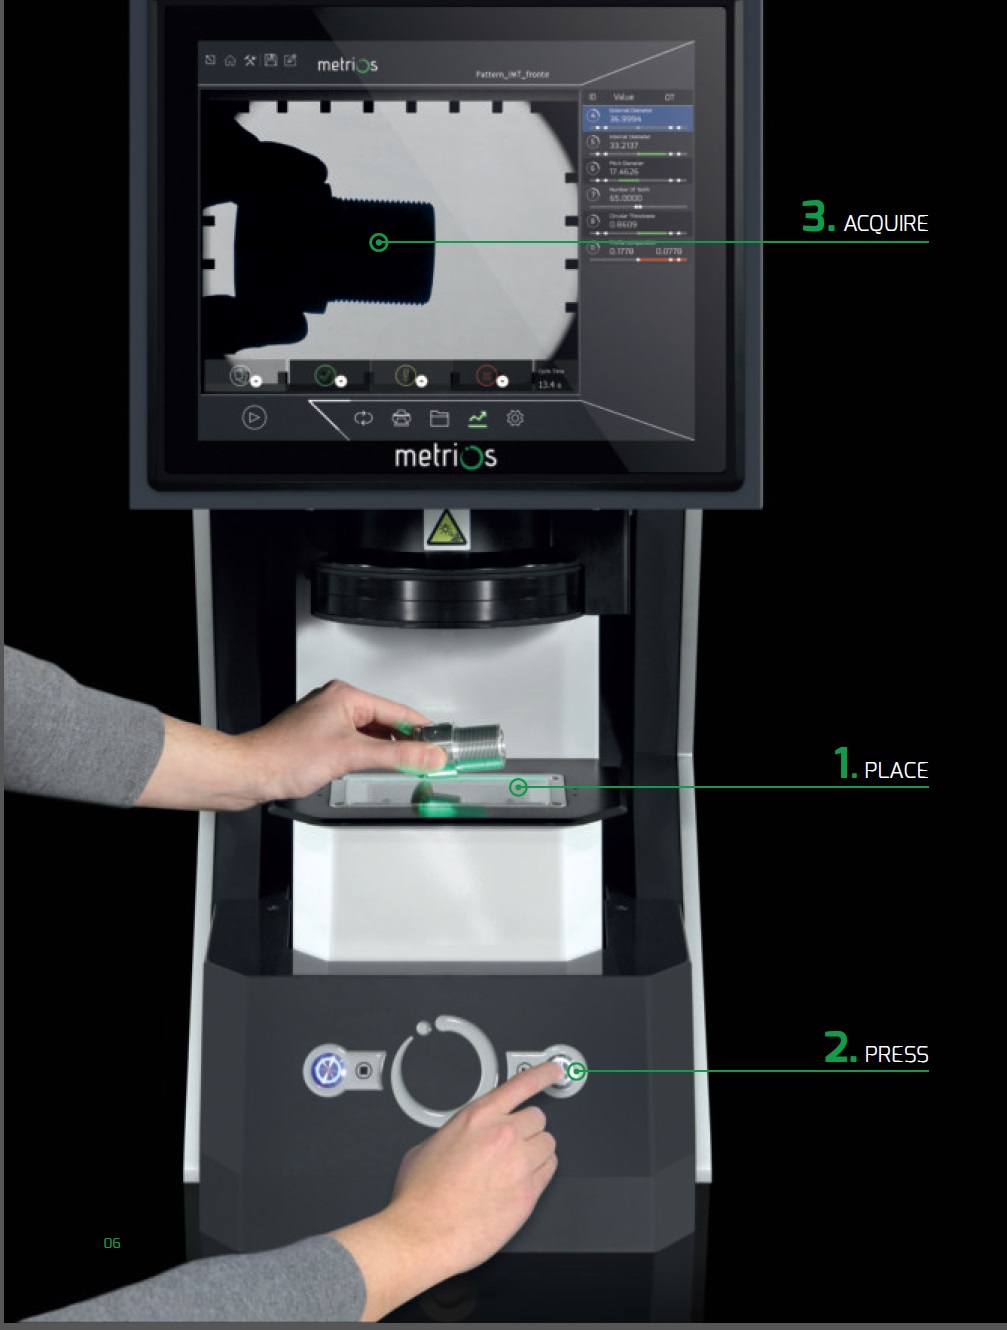
With an innovative system and a METRIOS in-house software, all the necessary dimensional information is acquired with absolute precision, as simply as possible.
AUTOMATIC POSITION DETECTION Free hand rapid positioning, no need for accurate placement. | LIMITLESS MEASUREMENTS FOR EACH PIECE Complex parts with countless details: METRIOS acquiresall the measurements in just a few seconds. | MULTIPIECE MEASUREMENTS METRIOS inspects multiple parts at the same time |
| ||
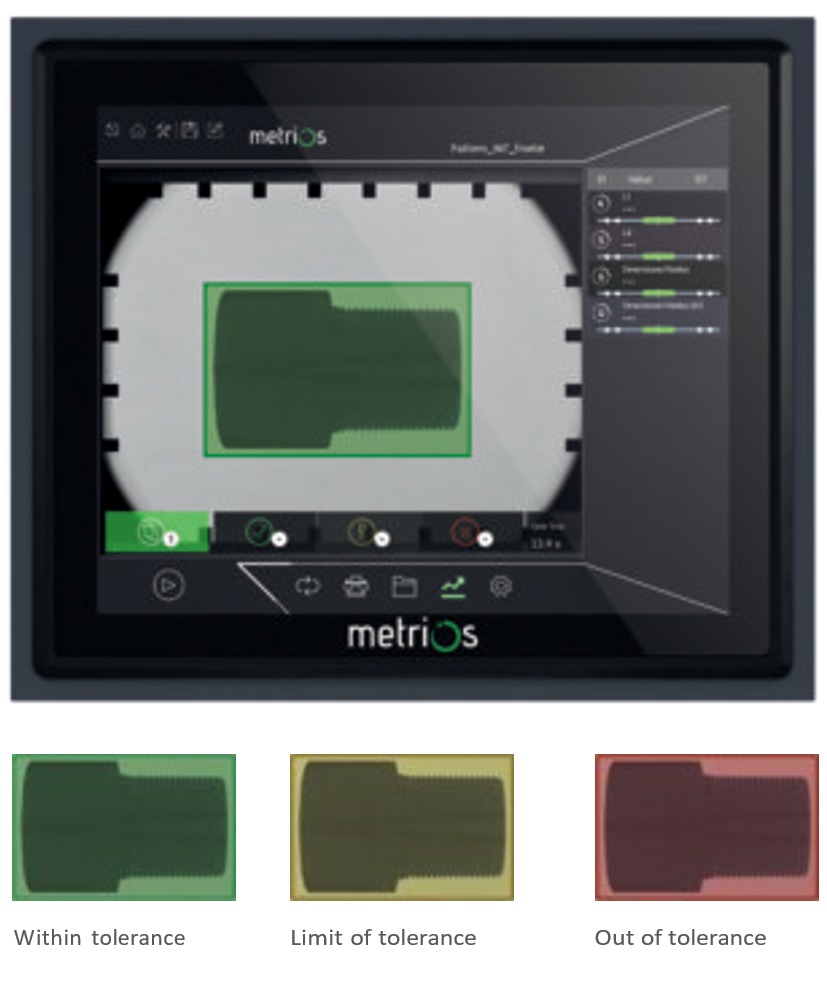
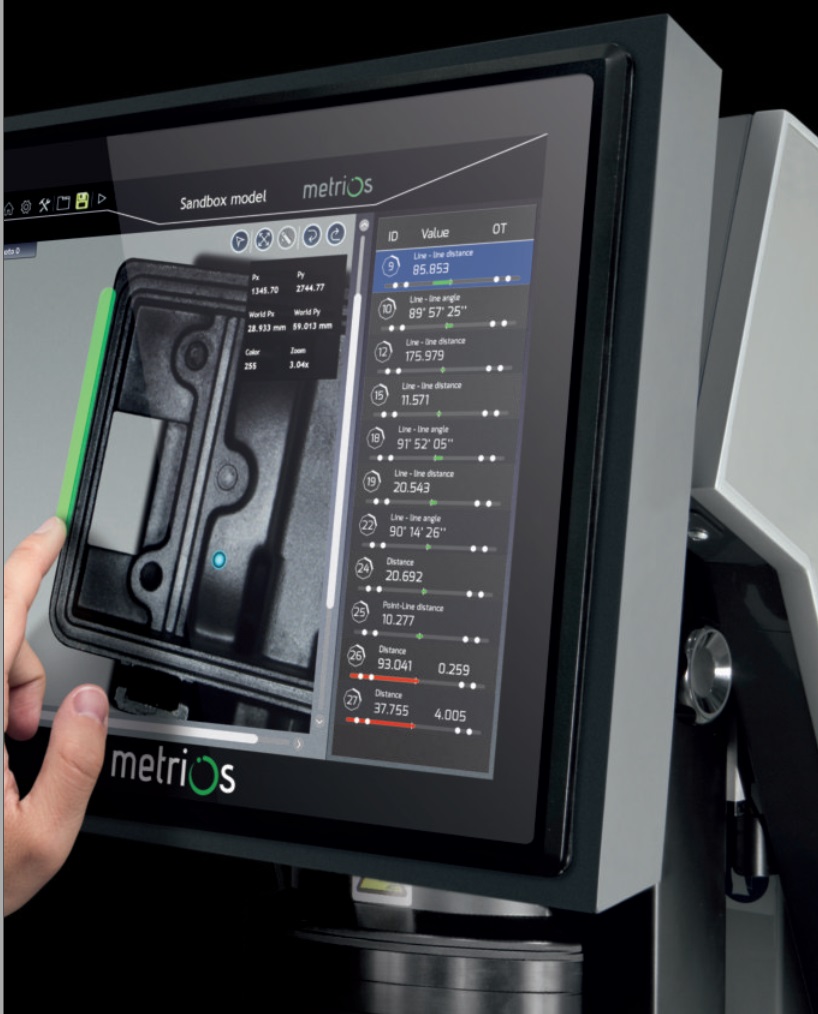
MEASUREMENT SOFTWARE Highly practical and intuitive, it does not require specialized operators. The histogram display provides an immediate good/reject result. The operator sees the live image of the part directly on the screen and has the same practical sensation as when using the profi e projector. The measurements highlighted by the histogram are indicated on the live image of the element. This function provides the operator with immediate control. |
THE MOST COMPLETE LIGHTING SYSTEM IN ITS CATEGORY
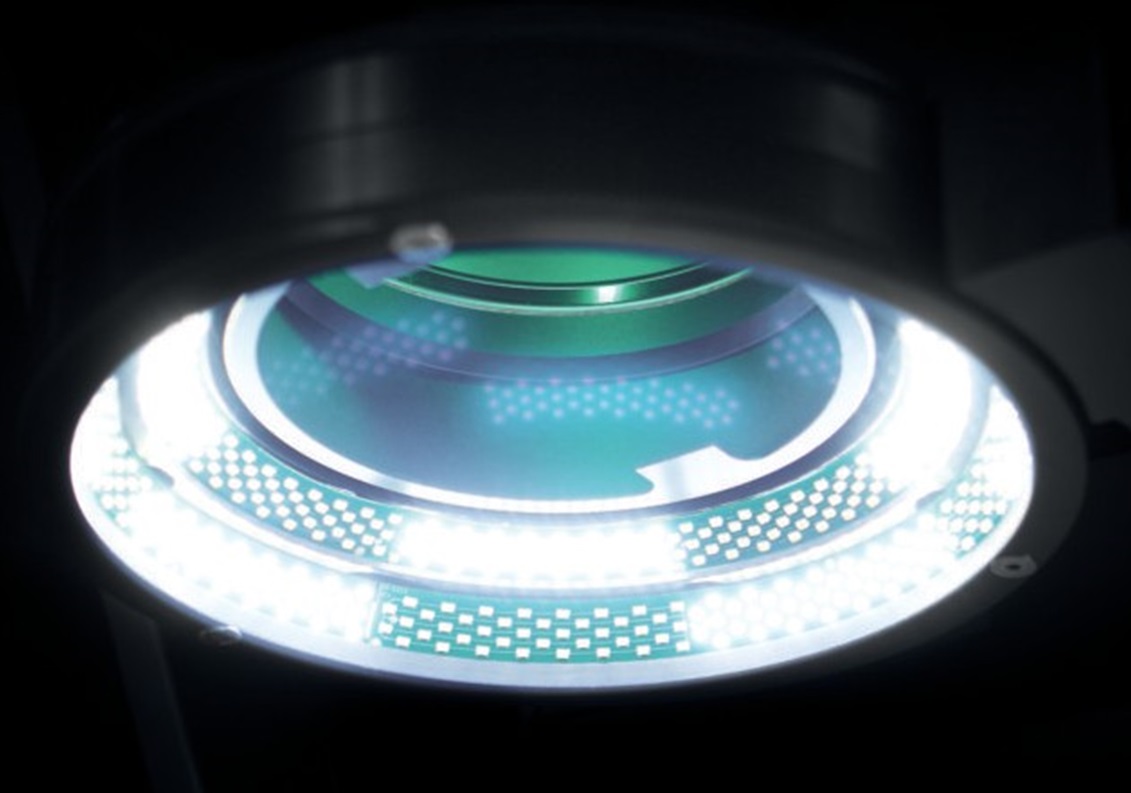
METRIOS acquires measurements witha non-contact optical system.The system consists of ahigh-resolution sensor and threedifferent lighting systems.
TELECENTRICBACKLIGHTING
|
COAXIAL EPISCOPIC ILLUMINATOR
|
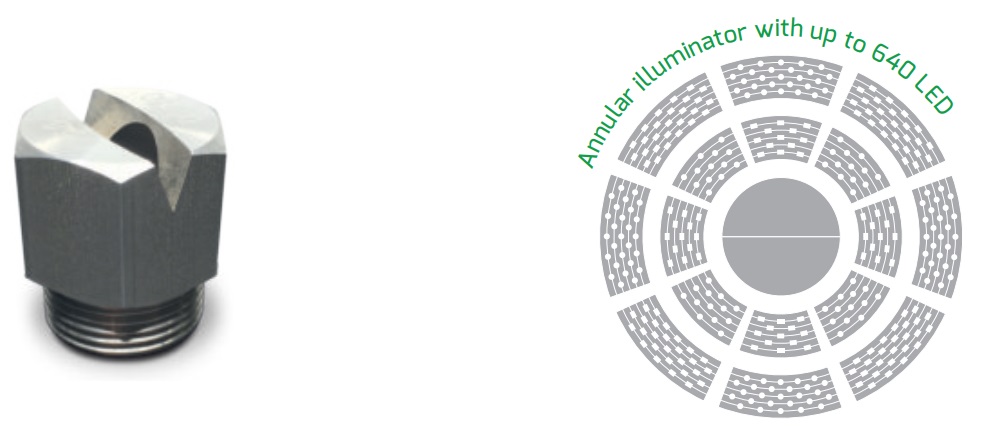
UP TO 640 LED ANNULAR ILLUMINATOR
|
ILLUMINATOR SECTORS
|
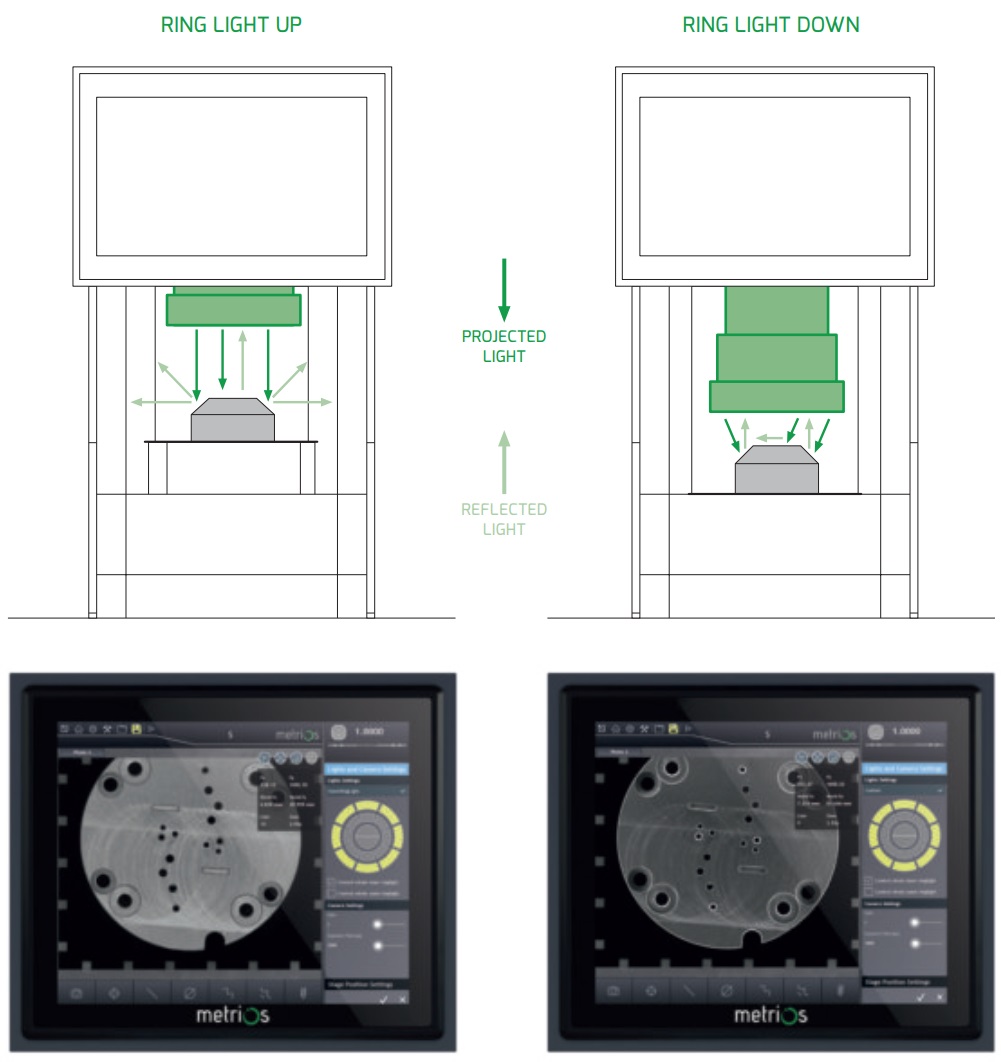
THE ILLUMINATION ANGLE CHANGES: WHAT YOU SEE CHANGES
METRIOS can change the illuminationangle of incidence on the part.The motorized annular illuminator
provides various angles of the lightsource within the same measurementcycle. Each illumination program savedcan be used to carry out subsequentmeasurements
THE NEW MOTORIZED RING LIGHT:
- Moves towards and away from the stage and isfitted with an automatic adjustment system;
- Changes the illumination angle of each surface;
- Highlights a number of features on the element.
EASY AS A TABLET, POWERFUL AS A SHOPFLOOR MEASURING TOOL
Our Microstar series of CMMs covers a wider size range from medium to large. These versatile units can be used in the lab or in the shop. The ways, bearings, scales and motors are enclosed or protected against harsh environments.
ACCESS - DIALOG - INTERACTION
Discovering every day the value of a cutting edgetool for your shopfloor.
IMMEDIATE ACCESS
Multi-touch industrial 17-inch screen designed for clear visibility,and a user-friendly interface with intuitive programming tofacilitate daily use.
STRUCTURE
Innovative construction techniques have resulted in a tool capableof operating outside the metrology lab. Its sturdy steel alloyframe with reinforcing ribs houses and protects the delicate partsof the machine.
ERGONOMICS
The loading area provides a great access space for theoperator’s hands.
METRIOS has the ideal size for operating from the typicalstanding position in production.
MULTI-GESTURE TECHNOLOGY

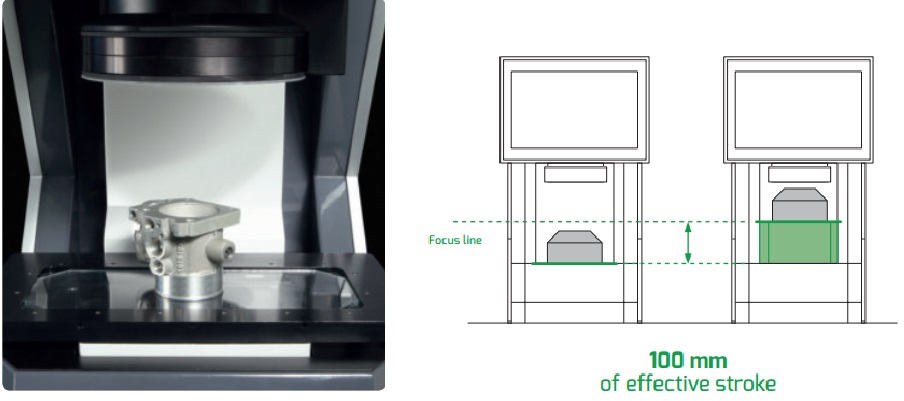
100MM VERTICAL STROKE
The greatestdistance betweenstage and opticsin its category
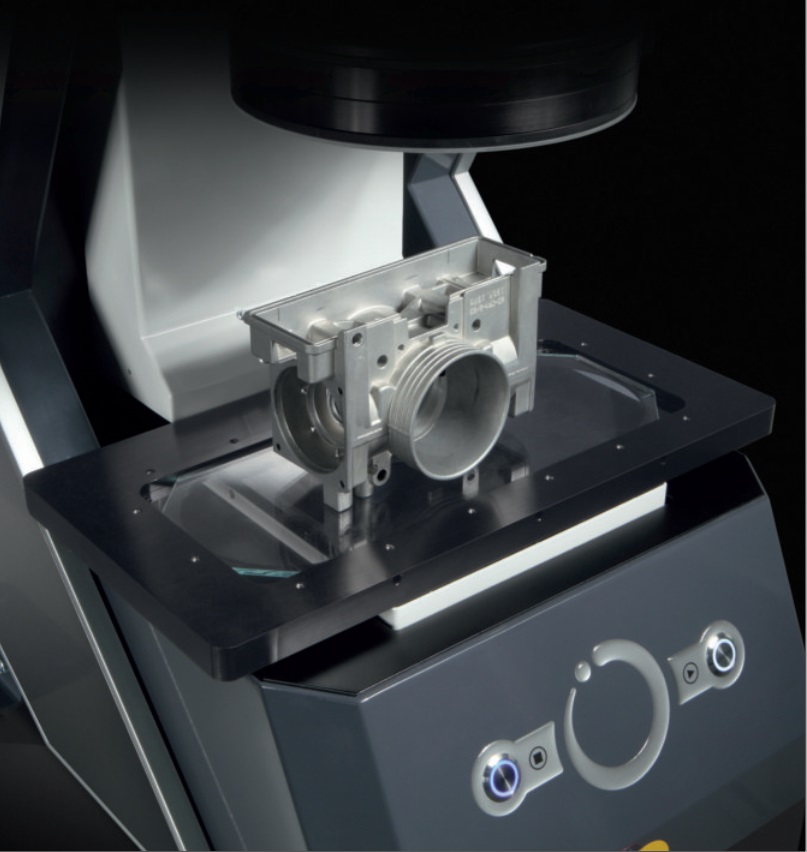
The measuring stage moves vertically witha 100 mm stroke, moving downwards duringloading and unloading phases. The verticalstroke of the stage is useful for:
- Measuring parts withsignificant thickness;
- Using supports and jigswhen necessary
- Automatically focusingon multi-level elements
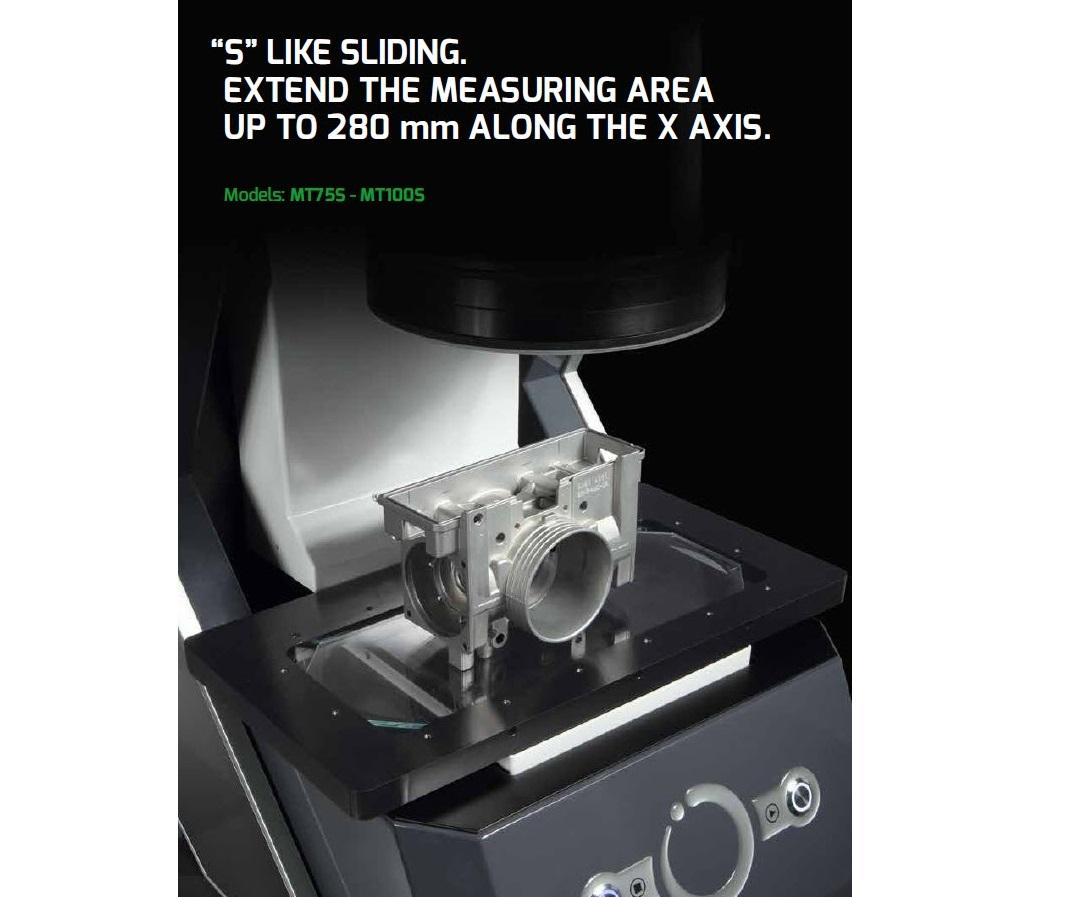
“S” LIKE SLIDING. EXTEND THE MEASURING AREA UP TO 280MM ALONG THE X AXIS
Models: MT75S - MT100S
MAGNIFICATION, RESOLUTION, QUALITY. NO LIMITATION OF USE.
METRIOS CAN ZOOM UP TO 100X
Not just a fast measuringtool, but also a powerfulmagnifer.
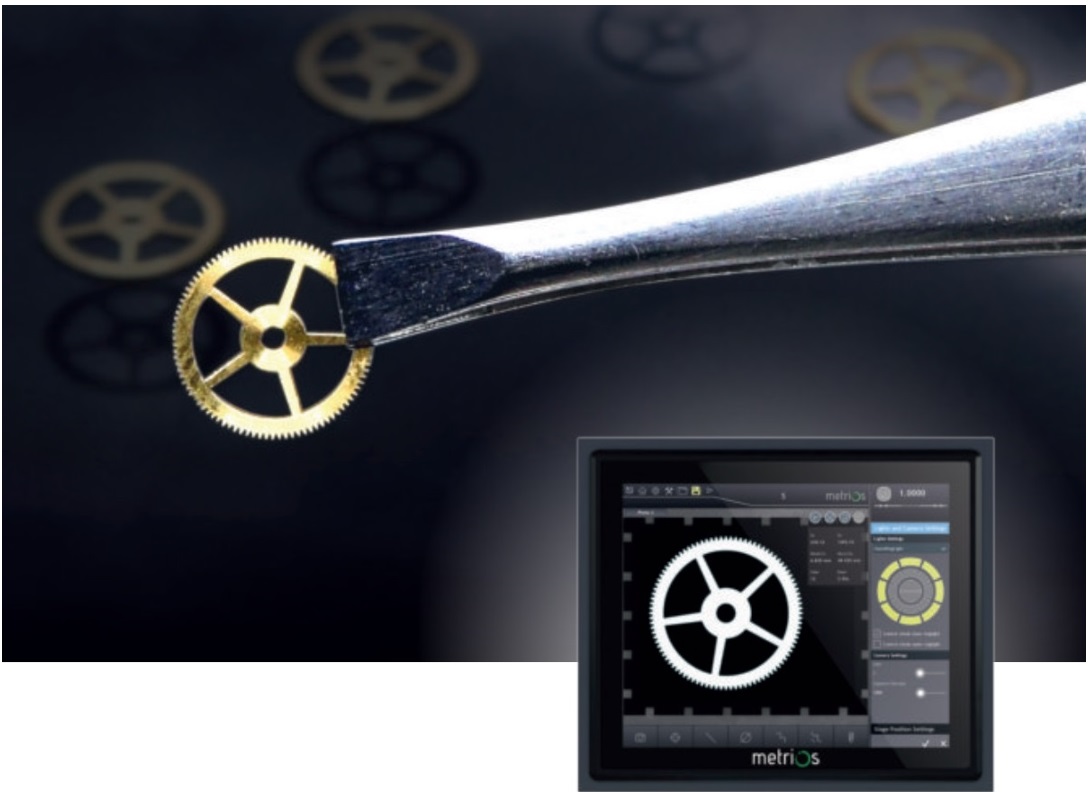
Various versions available with a range offields of view and resolutions. With just onepicture METRIOS can capture even the mostminute detail.
The software displays a high resolution imageof the entire element revealing the level ofcleanliness and the presence of any burrsand scratches.
The machine’s lens reduces distortion to aminimum at any point on the field of view,ensuring maximum accuracy.
APPLICATIONS
ON-BOARD STEP MASTER AND TEMPERATURE SENSORS.
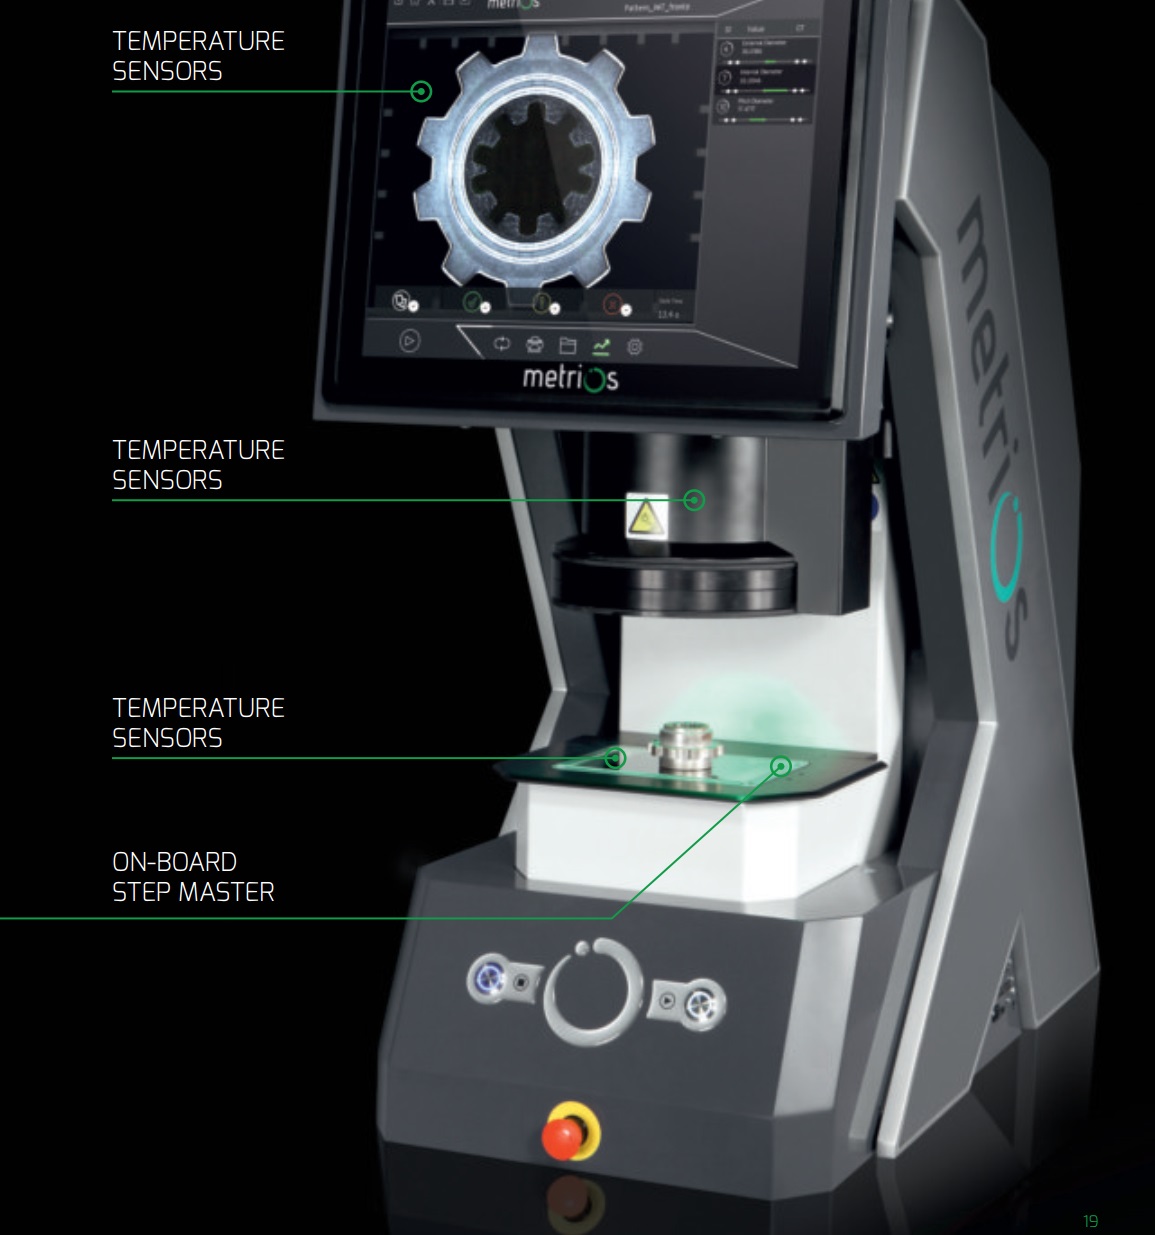
Shopfloor environments are not alwaystemperature controlled, so METRIOS isequipped with an on-board Step Master (gage)that gives measurement feedback duringthe cycle.
In addition, 3 temperature sensors ensureall measurements are taken correctly. Thesesensors make the instrument immune to thetypical varying environmental conditions ofthe shopfloor.
Designed for practical use on the shopfloor,by using the on board step-master to its fulladvantage, METRIOS allows operators toreplace any damaged glass without having torecalibrate with an external master, savingon the typical maintenance costs of opticalmeasuring devices.
MAXIMUM BENEFIT ON THE SHOPFLOOR.
DATA COLLECTION
METRIOS automatically collects data, eliminating therisk of human error, saving time and providing an
analytical assessment of the production trend.
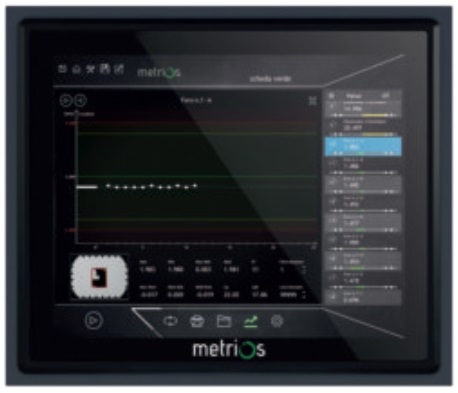
AUTOMATIC MEASUREMENT TREND
A graph shows the trend of each singlemeasurement,providing the followinginformation: average trend, maximumdeviation, mean deviation, CP, CPK
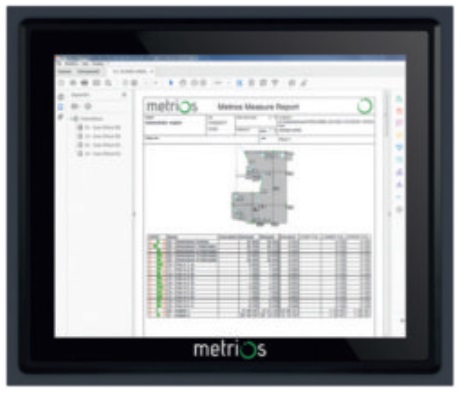
INSTANT MEASUREMENT REPORT
The software can print a complete and customizable report or export it in PDF format. The histogram immediately shows if each single measurement is within tolerance and if there is any deviation from the nominal value
CONNECTABLE EXTERNAL DEVICES
METRIOS can collect data from external devicesconnected via USB. In this way, measurementsthat are not typically acquired by an opticalmeasuring tool can be added to the report.For instance, weight, roughness or depth ofblind holes.
TECHNICAL DATA
MODEL | Field of view (mm) | Max. piece (mm) | Max. (kg) | Measurement accuracy [µm] | Measurement repeatability [µm] | Machine (Kg) |
METRIOS MT7560 | 75 x 60 | 100 | 0,8 | (5+0.01L [mm]) | (2+0.01L [mm]) | 105 |
METRIOS MT7575 | 72 x 72 | 100 | 0,8 | (4+0.01L [mm]) | (2+0.01L [mm]) | 105 |
METRIOS MT11080 | 100 x 75 | 100 | 0,8 | (5+0.01L [mm]) | (2+0.01L [mm]) | 105 |
METRIOS MT75S | 260 x 75 | 70 | 2 | (5+0.01L [mm]) | (2+0.01L [mm]) | 110 |
METRIOS MT100S | 280 x 100 | 70 | 2 | (5+0.01L [mm]) (7+0.01L [mm]) | (2+0.01L [mm]) (3+0.01L [mm]) | 110 |
METRIOS MT2525 | 23 x 23 | 100 | 0,5 | (2.5+0.01L [mm]) | (1.5+0.01L [mm]) | 105 |
METRIOS MT25CROSS | 75 x 75 | 50 | 0,5 | (2.5+0.01L [mm]) | (1.5+0.01L[mm]) | 115 |
METRIOS MT100CROSS | 280 x 200 | 50 | 3 | (5+0.01L [mm]) | (2+0.01L [mm]) | 130 |
THE METRIOS RANGE
MT7560 | For versatile uses with the quality-price ratio. |
MT7575 | High resolution for small components. |
MT11080 | Ideal for large parts up to 100 mm. |
MT75S | Sliding stage, wide working area. |
MT100S | Sliding stage, wide working area and high resolution. |
MT2525 | Capture the smallest detail on micro-components. |
MT25CROSS | Fitted with sliding stage along X and Y axis. |
MT100CROSS | Sliding stage along the X and Y axis, wide working area and highresoluti |
All Metrios models are fitted with panel pc 17-inch(power supply 230 Volt 50/60 Hz).
METRIOS is available as a stand-alone solution, or can be integratedinto a workstation to provide operational support.
